Difference between revisions of "Demosaic on client side"
OneArtPlease (talk | contribs) (→Working with RAW image data) |
OneArtPlease (talk | contribs) (→Comparing different demosaicing algorithms) |
||
| Line 19: | Line 19: | ||
{| border="0" cellpadding="2" | {| border="0" cellpadding="2" | ||
|- | |- | ||
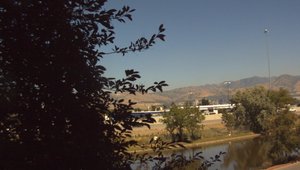
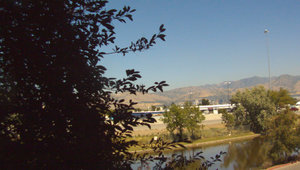
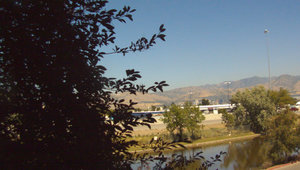
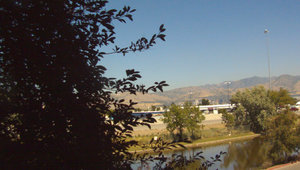
| − | | [[Image:1080 jpg 99.jpeg|thumb|JPEG processed within a Elphel 353 at 99% JPEG quality - camera uses the Variable Number of Gradients algorithm]]||[[Image:1080 UFRaw Bilinear.jpg|thumb|UFRaw processed using the fast "Bilinear" algorithm]]||[[Image:1080 UFRaw VNG.jpg|thumb|UFRaw processed using the | + | | [[Image:1080 jpg 99.jpeg|thumb|JPEG processed within a Elphel 353 at 99% JPEG quality - camera uses the Variable Number of Gradients algorithm]]||[[Image:1080 UFRaw Bilinear.jpg|thumb|UFRaw processed using the fast "Bilinear" algorithm]]||[[Image:1080 UFRaw VNG.jpg|thumb|UFRaw processed using the VNG (Variable Number of Gradients interpolation) algorithm]]||[[Image:1080 UFRaw PPG.jpg|thumb|UFRaw processed using the PPG (Patterned Pixel Grouping) algorithm]]||[[Image:1080 UFRaw AHD.jpg|thumb|UFRaw processed using the AHD (Adaptive Homogeneity-Directed interpolation) algorithm]] |
|- | |- | ||
|} | |} | ||
| − | + | All RAW file were generated by converting JP4 encoded JPEGs to DNG and where then processed in UFRaw. (sorry for the slight difference in brightness and saturation, it was the closest I could get in UFRaw to what the camera does internally) | |
| − | + | Detail comparison: | |
= The goals = | = The goals = | ||
Revision as of 00:01, 29 August 2008
Contents
[hide]Background
Our actual FPGA code on the camera use very simple algorithm to calculate YCbCr from the Bayer pixels. It use just 3x3 block of neighbors. The other point is that this algorithm is time consuming and with the 5MPix sensor the FPGA became the bottleneck. So we have added a special JP4 mode what bypass the Demosaic in the FPGA and provide an image with pixels in each 16x16 macroblock what are rearranged to separate Bayer colors in individual 8x8 blocks, then encoded as monochrome. Demosaic will be applied during post-processing on the host PC. This page describe different algorithms and implementations used to provide this functionality.
Cf. wikipedia for more info on Demosaicing.
Working with RAW image data
There actually already is a workflow to get RAW image data from the elphel camera and demosaic/postprocess on a computer.
- Step 1: Use the JP4 encoded jpg output on a camera
- Step 2: We need to build a modified dcraw under linux to read our image: For the unexperience linux user this can be quite a challenge (at least it had been for me) I used Ubuntu 7.10 and first had to acquire the "build-essential" package via synaptic package manager. From the dcraw website grab elphel_dng.c and LibTIFF v3.8.2 as well as a patch. Unpack the LibTiff tar.gz and we have all files together. Apply the patch (the command is "patch -p1 < libtiff.patch"). This will do some minor changes in the source code. Now go into the libtiff directory and execute "./configure". If successful do "make" and then "make install" (I had to do "sudo su" first to be able to install anything as root). I had special trouble because I am running a 64bit system and "make" complained about static and dynamic libraries and that I should compile tif_stream.o with -fPIC parameter. Nothing of the suggested worked. In the end I did it with a "make clean" (don't ask me why!). After libtiff was successfully built we need to compile the elphel_dng.c. Everything you need to know is already written into the header of that source file: "gcc -o elphel_dng elphel_dng.c -O4 -Wall -lm -ljpeg -ltiff" and you have an executable.
- Step 3: We use the executable we just built to convert our jp4 jpeg. Usage "./elphel_dng gamma infile outfile" for example "./elphel_dng 100 jp4.jpg test.dng"
- Done. You should now have a DNG that you can load in any raw editing software like photoshop, lightroom, aperture or GUIs for dcraw.
Comparing different demosaicing algorithms
There are many different ways to reconstruct (or at least try to) all pixels color channels from Bayer pattern data.
Here is a side by side comparison:
All RAW file were generated by converting JP4 encoded JPEGs to DNG and where then processed in UFRaw. (sorry for the slight difference in brightness and saturation, it was the closest I could get in UFRaw to what the camera does internally)
Detail comparison:
The goals
Video processing
Next step is to be able to embed this algorithm into MPlayer, VLC, FFmpeg and GSTreamer for video processing. The goal is to get the maximum sensor FPS processed on the computer. So at 5MPix it's 15 FPS, at 1920x1088 it's 30 FPS.
Algorithm
Existing
There are several algorithms that provide good results with less artifacts (see Wikipedia article) and these detailed descriptions:
Implemented
We actually did implement the Variable Number of Gradients algorithm.
Implementation
Several implementation with different numbers of software & hardware dependencies are possible.
OpenCV implementation
libjpeg implementation
Gstreamer implementation
Gstreamer already offers:
- a jpegdec element
- a bayer2rgb component, which decodes raw camera bayer (fourcc BA81) to RGB
These may be starting points for implementing the forementioned method. However, it might be better to stick to the standards and provide raw data contained in e.g. YUV4MPEG4 container ?
