Difference between revisions of "Eyesis4Pi 393 workflow"
From ElphelWiki
(Created page with "==Actual Workflow== ===Footage Acquisition=== {| class="wikitable" |- ! Step !! Description !! Time, min !! Comment |- |align="center" | 1 |style="padding...") |
|||
| Line 1: | Line 1: | ||
| − | == | + | ==Workflow== |
===Footage Acquisition=== | ===Footage Acquisition=== | ||
| Line 7: | Line 7: | ||
|- | |- | ||
|align="center" | 1 | |align="center" | 1 | ||
| − | |style="padding:0px 15px 0px 15px;"| | + | |style="padding:0px 15px 0px 15px;"| Mount |
| − | |align="center" | | + | |align="center" | - |
| − | |style="padding:0px 15px 0px 15px;"| | + | |style="padding:0px 15px 0px 15px;"| |
|- | |- | ||
|align="center" | 2 | |align="center" | 2 | ||
|style="padding:0px 15px 0px 15px;"| Power on and boot | |style="padding:0px 15px 0px 15px;"| Power on and boot | ||
| − | |align="center" | | + | |align="center" | - |
|style="padding:0px 15px 0px 15px;"| | |style="padding:0px 15px 0px 15px;"| | ||
|- | |- | ||
|align="center" | 3 | |align="center" | 3 | ||
|style="padding:0px 15px 0px 15px;"| Network setup | |style="padding:0px 15px 0px 15px;"| Network setup | ||
| − | |align="center" | | + | |align="center" | - |
| − | |style="padding:0px 15px 0px 15px;"| | + | |style="padding:0px 15px 0px 15px;"| [http://linuxlibrary.org/kubuntu-network-configuration/ Kubuntu Network Configuration]. |
|- | |- | ||
|align="center" | 4 | |align="center" | 4 | ||
| − | |style="padding:0px 15px 0px 15px;"| [[ | + | |style="padding:0px 15px 0px 15px;"| System tests ([[Eyesis4Pi 393 User Guide - Recording|Web GUI]]) |
| − | |align="center" | | + | |align="center" | - |
| − | |style="padding:0px 15px 0px 15px;"| | + | |style="padding:0px 15px 0px 15px;"| Optional, GPS lock, |
|- | |- | ||
|align="center" | 5 | |align="center" | 5 | ||
| − | |style="padding:0px 15px 0px 15px;"| | + | |style="padding:0px 15px 0px 15px;"| [[Eyesis4Pi_User_Guide_-_Recording|Accessing the WebGUI]] |
| − | |align="center" | | + | |align="center" | - |
| − | |style="padding:0px 15px 0px 15px;"| | + | |style="padding:0px 15px 0px 15px;"| The camera is controlled through a WebGUI |
|- | |- | ||
|align="center" | 6 | |align="center" | 6 | ||
Revision as of 13:54, 16 March 2017
Contents
Workflow
Footage Acquisition
| Step | Description | Time, min | Comment |
|---|---|---|---|
| 1 | Mount | - | |
| 2 | Power on and boot | - | |
| 3 | Network setup | - | Kubuntu Network Configuration. |
| 4 | System tests (Web GUI) | - | Optional, GPS lock, |
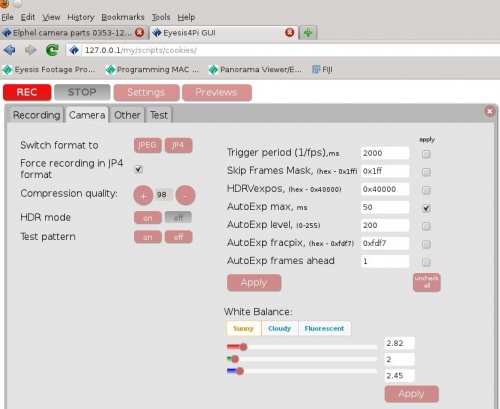
| 5 | Accessing the WebGUI | - | The camera is controlled through a WebGUI |
| 6 | Waiting for GPS lock | 0-10 | Cold start can take up to 10 min |
| 7 | Setting up paths and shooting parameters | 0-1 | Initial settings can take longer time of course |
| 8 | Start recording | - | |
| 9 | Stop recording | - | Output:
|
| 10 | Downloading GPS/IMU log | 0-10 | Download onto recording PC, depends on the file size. |
| 11 | Camera power off | 0-1 | Power off the switch, unplug cables |
| 12 | Taking the camera off the vehicle | 10 | If needed |
Post-Processing
| Step | Description | Time, min | Program | Comment |
|---|---|---|---|---|
| 1 | Copying footage from SSDs to the PC | 10-30 | Manual | |
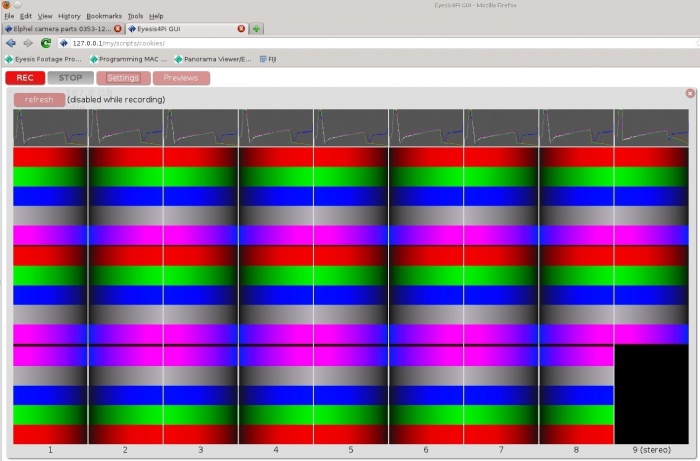
| 2 | Selecting images for post-processing | - | WebGUI - Panorama Previewer | Optional, if not all the images are needed |
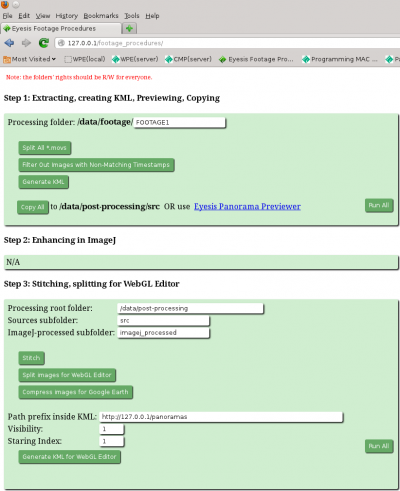
| 3 | Copying selected or all the images for post-processing | 10-30 | WebGUI - Footage Procedures | |
| 4 | Post-processing in ImageJ | 20-301 | ImageJ | Output: transformed according pixel map images ready for stitching and blending.
Procedures performed:
|
| 5 | Stitching and blending | 2-51 | WebGUI - Footage Procedures | Output panoramas in equirectangular projection |
| 6 | Preparing panoramas for WebGL Viewer | 2-51 | WebGUI - Footage Procedures | Optional |
1- per single scene
GUIs Overview
WebGUI (recording)
- PHP+JavaScript+HTML.
- Installed on the laptop or PC used for recording.
Post-Processing
A. WebGUI part (PHP + JavaScript + HTML)
- Copying images before processing.
- Extracting GPS coordinates from images.
- Stitching (after ImageJ).
- Formatting/resizing the results.
B. ImageJ part (Java)
- Applying pixel mapping information
- Aberration correction
- Distortion correction
- Vignetting correction
- Color correction
- Denoising
- Sharpening


